NEW POST

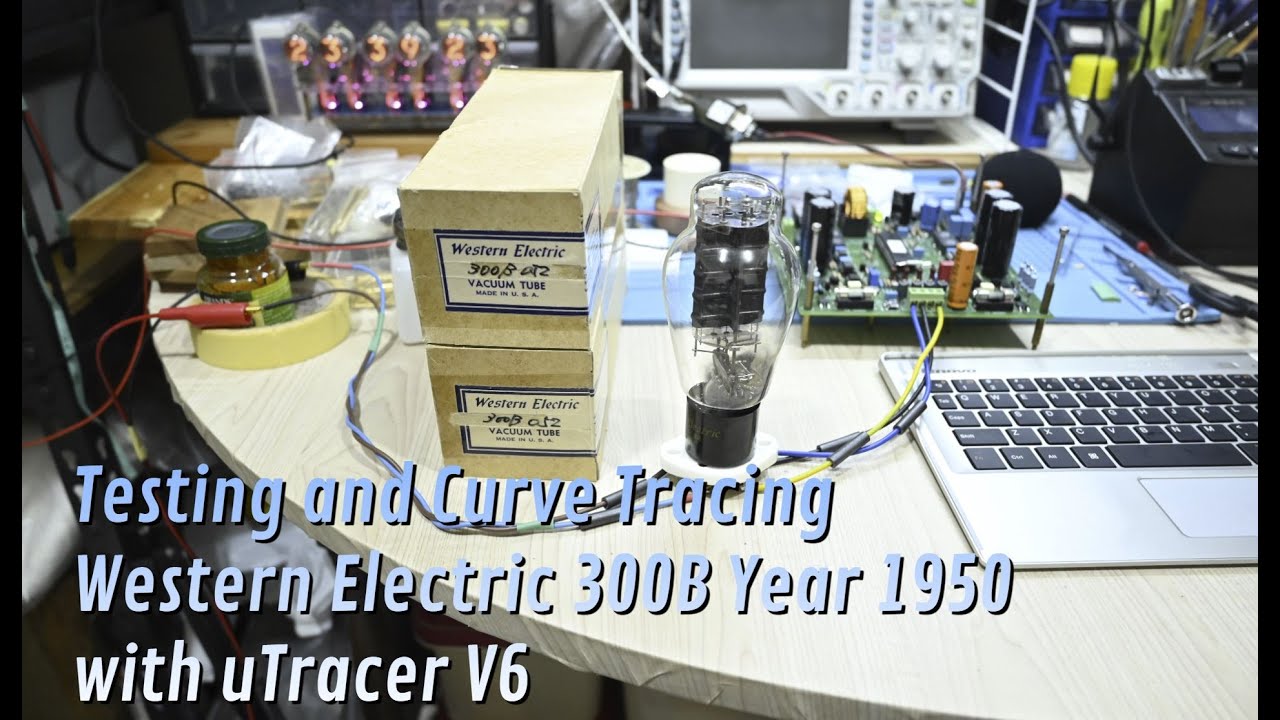
Testing & Curve Tracking Western Electric (WE) 300B Tube with uTracer V6
I’m testing and curve tracing my vintage Western Electric 300B tube, year 1950. It’s amazing to see 70+ years old tube still measured as good...
October 22, 2023

Western Electric 300B Year 1950 & 1997 Physical Comparison (with Takatsuki TA-300B as well)
This time, I would like to compare the physical differences between vintage Western Electric 300B Year 1950 vs the re-issue version Year 1997. I also...
September 30, 2023

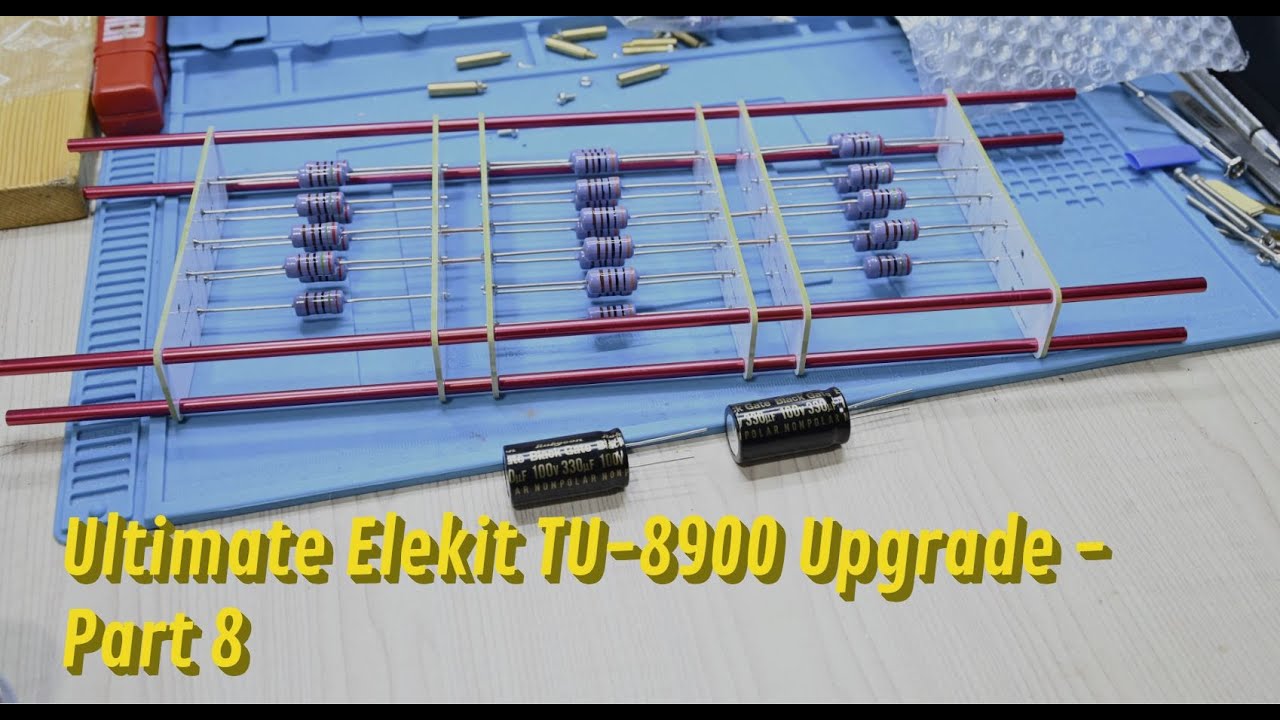
Elekit TU-8900 (300B/2A3 Amplifier) Upgrade – Part 8
Finally, we have our custom Cathode Resistor ready. With 2mm thick PCB and 2oz of copper, total 29 pcs of Shinkoh 2W Tantalum Resistors are...
August 7, 2023
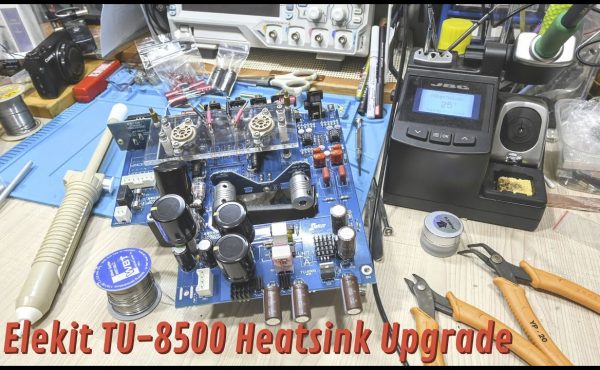
Elekit TU-8500 Heatsink Upgrade
I decide to add heatsink to some of the components on my Elekit TU-8500. By default, most of the components on the Elekit TU-8500 do...
July 25, 2023
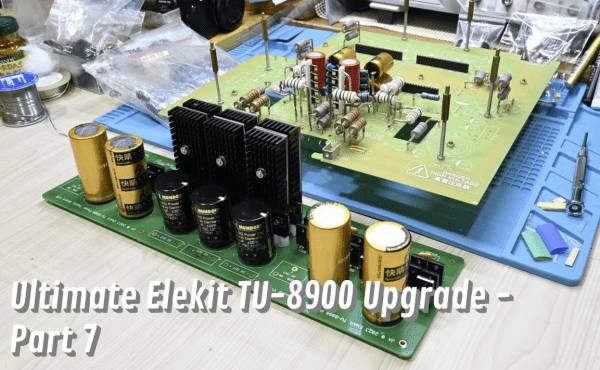
Elekit TU-8900 (300B/2A3 Amplifier) Upgrade – Part 7
The power supply PCB for Elekit TU-8900 has been completed! Diode: FFPF15S60S 15 A Capacitor: Mundorf MLytic & AudioNote Kaisei NP (in SuperE mode) Custom...
July 17, 2023

Testing Input Transformer Frequency Response with QuantAsylum QA402
Want to know how to test our Input Transformer with simple audio analyzer? In this case, I’m using QuantAsylum QA402. The Input Transformer spec is...
July 9, 2023

Permalloy80 + OCC Ag Silver Wire Input Transformer
Enjoying the sweet sound of Permalloy80 Input Transformer with OCC Silver (Ag) wire....
July 2, 2023

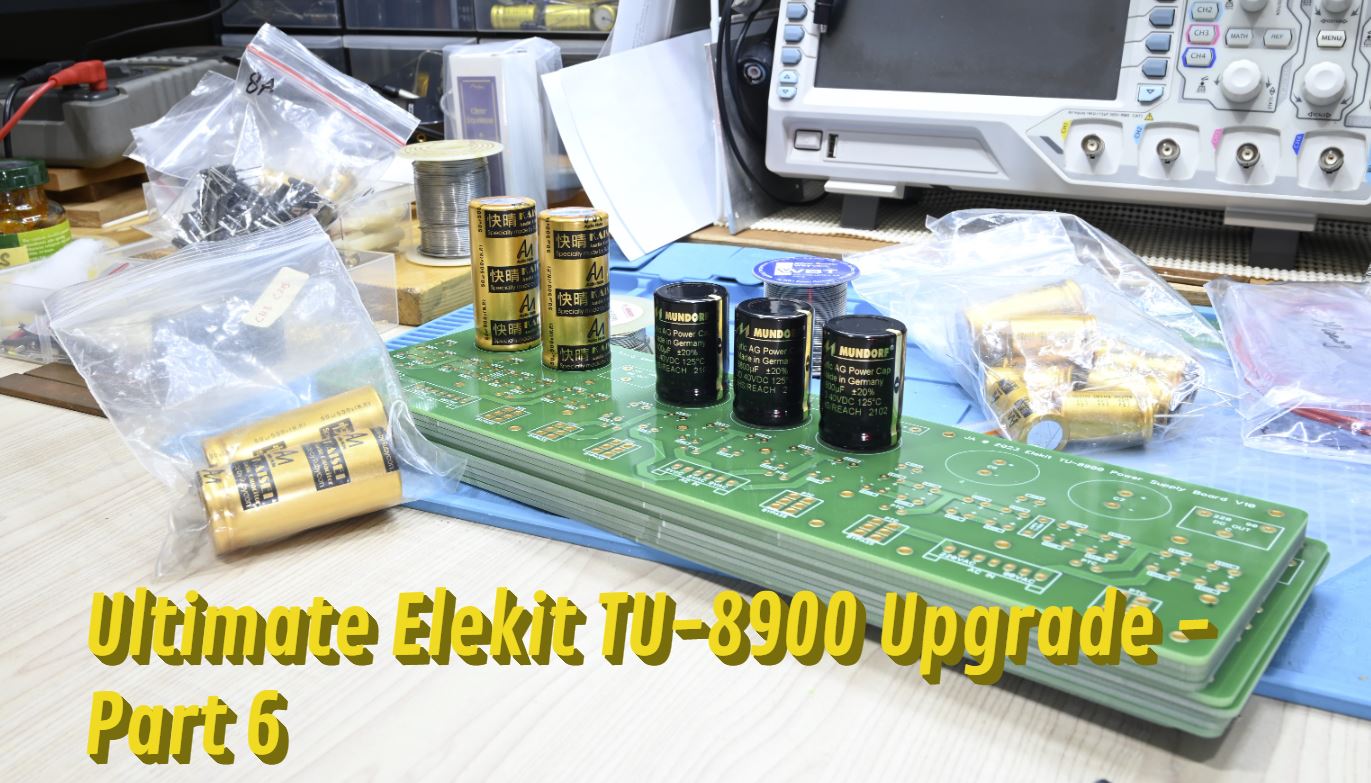
Elekit TU-8900 (300B/2A3 Amplifier) Upgrade – Part 6
The power supply PCB for Elekit TU-8900 has arrived! It has 2mm thickness, 2oz copper, and 2um gold plated. Superb build quality!...
June 27, 2023

Elekit TU-8900 (300B/2A3 Amplifier) Upgrade – Part 5
This time, I will show to all of you on how do I arrange the components into the PCB. Hope you enjoy it! Songs by...
April 24, 2023
I'm on YouTube!
Social Media
AUDIO NEWS

Sad News from Jensen Capacitors…
It’s a sad news when I read this on Duelund Coherent Audio (DCA) Instagram post....
September 1, 2019

Duelund Standard Resistor with Tinned Copper Lead
The development of boutique component seems never end. Although doesn’t necessarily to be on top...
August 19, 2018

RIP Glenn Frey, Guitarist and Singer of The Eagles
When the time has come, no one can refuse to go. Glenn Frey, guitarist and...
January 19, 2016
Manley Labs Headphone Amplifier
CES 2016 seems like the returning of vintage audio gear. After several turntables, next is...
January 7, 2016

Technics Grand Class SL-1200G and SL-1200GAE Turntable
The vintage classic player Technics SL-1200 was well known as one of the legendary DJ...
January 6, 2016
DIY Corner
Testing & Curve Tracking Western Electric (WE) 300B Tube with uTracer V6
I’m testing and curve tracing my vintage Western Electric 300B tube, year 1950. It’s amazing to see 70+ years old tube still measured as good...
October 22, 2023
Western Electric 300B Year 1950 & 1997 Physical Comparison (with Takatsuki TA-300B as well)
This time, I would like to compare the physical differences between vintage Western Electric 300B Year 1950 vs the re-issue version Year 1997. I also...
September 30, 2023
Elekit TU-8900 (300B/2A3 Amplifier) Upgrade – Part 8
Finally, we have our custom Cathode Resistor ready. With 2mm thick PCB and 2oz of copper, total 29 pcs of Shinkoh 2W Tantalum Resistors are...
August 7, 2023
Elekit TU-8500 Heatsink Upgrade
I decide to add heatsink to some of the components on my Elekit TU-8500. By default, most of the components on the Elekit TU-8500 do...
July 25, 2023
Elekit TU-8900 (300B/2A3 Amplifier) Upgrade – Part 7
The power supply PCB for Elekit TU-8900 has been completed! Diode: FFPF15S60S 15 A Capacitor: Mundorf MLytic & AudioNote Kaisei NP (in SuperE mode) Custom...
July 17, 2023
Exotic Parts
Testing & Curve Tracking Western Electric (WE) 300B Tube with uTracer V6
I’m testing and curve tracing my vintage Western Electric 300B tube, year 1950. It’s amazing to see 70+ years old tube still measured as good...
October 22, 2023
Western Electric 300B Year 1950 & 1997 Physical Comparison (with Takatsuki TA-300B as well)
This time, I would like to compare the physical differences between vintage Western Electric 300B Year 1950 vs the re-issue version Year 1997. I also...
September 30, 2023
Elekit TU-8900 (300B/2A3 Amplifier) Upgrade – Part 8
Finally, we have our custom Cathode Resistor ready. With 2mm thick PCB and 2oz of copper, total 29 pcs of Shinkoh 2W Tantalum Resistors are...
August 7, 2023
Elekit TU-8500 Heatsink Upgrade
I decide to add heatsink to some of the components on my Elekit TU-8500. By default, most of the components on the Elekit TU-8500 do...
July 25, 2023
Elekit TU-8900 (300B/2A3 Amplifier) Upgrade – Part 7
The power supply PCB for Elekit TU-8900 has been completed! Diode: FFPF15S60S 15 A Capacitor: Mundorf MLytic & AudioNote Kaisei NP (in SuperE mode) Custom...
July 17, 2023
Friend / Event Visit

Indonesia DIY Audio Gathering at Bintaro
It’s been quite some time since last gathering at Bintaro (although I have to admit that I missed some of...
March 13, 2016

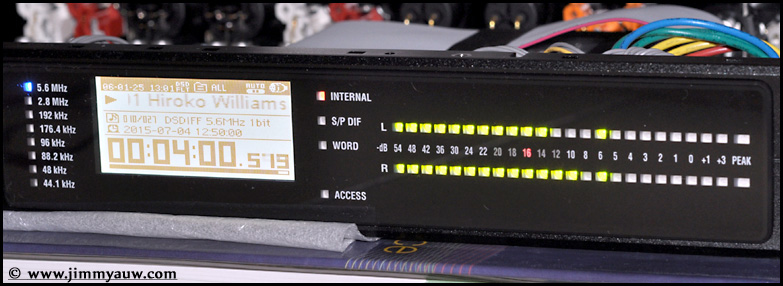
Testing Korg MR-2000S with Mr. AS at Serpong
I will start documenting my visit to some DIY friend. Due to privacy issue, I prefer not to document exact...
January 17, 2016
Indonesia DIY Audio Gathering Bintaro XIV
It has been a while since the last gathering (Bintaro XIII). So finally at December 21st, the 14th Bintaro gathering...
December 23, 2013
Amplifier Measurement Day at Bintaro
It’s a sunny Saturday. It has been agreed to have a measurement of some amplifier to check their power output....
July 14, 2012

Bintaro DIY DAC Competition
As usual, local audio DIY group in Indonesia held a routine group meeting and gathering. This time, the topic is...
March 19, 2012
In-House Project
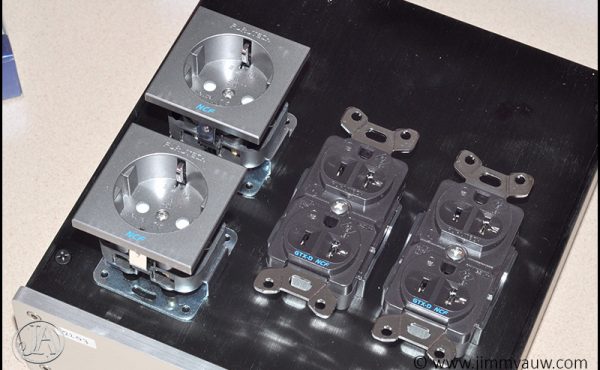
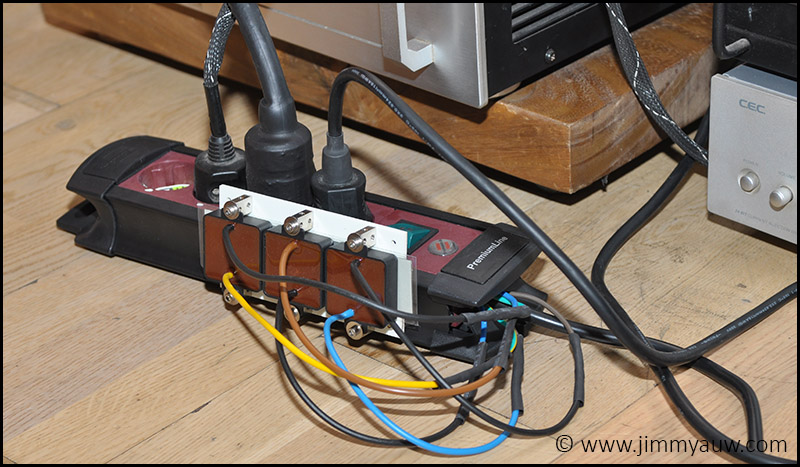
DIY Power Distributor with All Furutech NCF Socket
Power distributor (or commonly known as power strip) is nothing new. I believe we can find this power strip everywhere...
August 7, 2016

Tin Solder Experiment: Mixing Gold, Silver, and Tin
I have been waiting for quite some time to try this experiment: To try my own formula for tin solder....
July 8, 2016

‘No Name’ Capacitor Reviewed on DHTRob.com
I used to review a lot of stuff, including capacitor. But it comes upon a time when I have to...
February 9, 2014

‘No Name’ Capacitor: Nearly Final…
It’s almost perfect. Only need a final touch. Thanks for the great work of the manufacturer (which I can’t disclose...
October 31, 2013

‘No Name’ Capacitor Revision 2: To Know More (and To Review a bit)
Here is short review of my ‘No Name’ Capacitor Rev. 2. Before, I have given short introduction here. So here...
June 6, 2013
Video
Ads