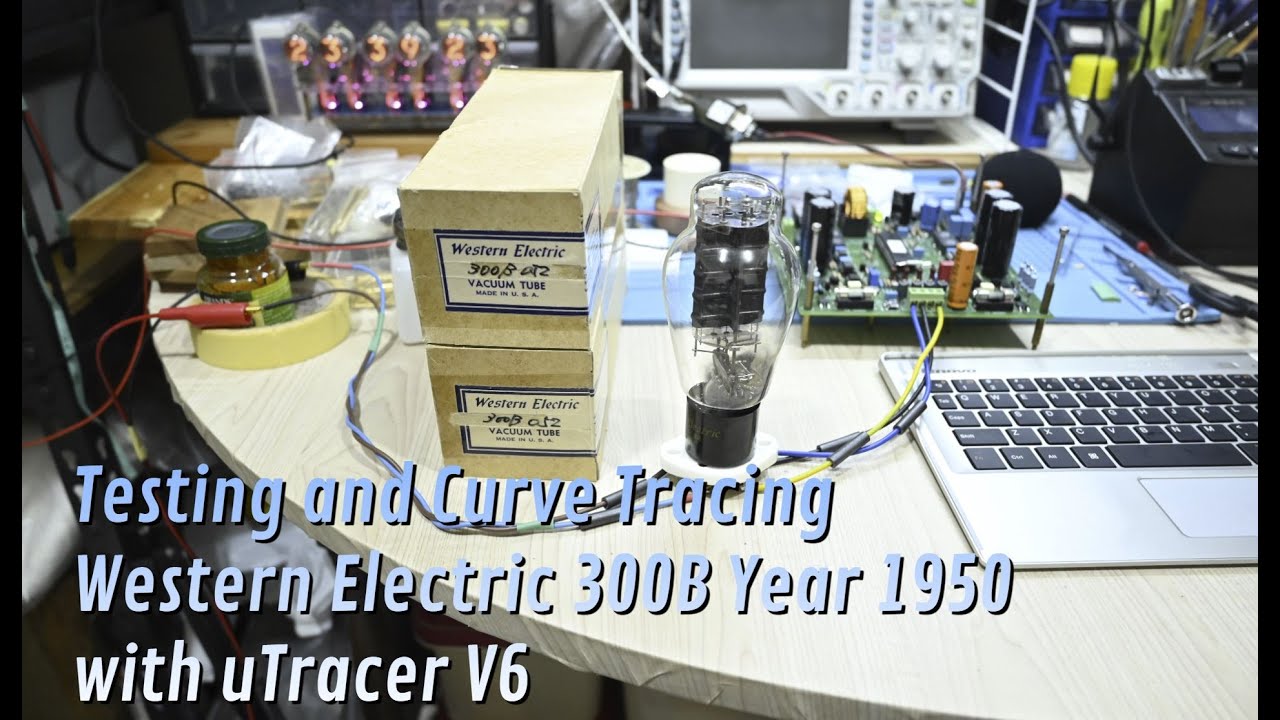
I’m testing and curve tracing my vintage Western Electric 300B tube, year 1950. It’s amazing to see 70+ years old tube still measured as good as new.... Read More

Want to know how to test our Input Transformer with simple audio analyzer? In this case, I’m using QuantAsylum QA402. The Input Transformer spec is 600R:600R with Permalloy80 core and...... Read More

This round, I’m testing tubes which claimed to be “matched pair” by the seller. I’m using uTracer 6 for this purpose. In general, it’s not easy to find what so...... Read More

Construction video of my new uTracer V6. Previously, I built uTracer V3+ which also very good Tube Tracer/Tester. Only somehow voltage and current is a bit limited. You can see...... Read More

Rigol has launched new economic digital oscilloscope, Rigol 1054Z. Although considered as economic oscilloscope, but the specification is not that economic. Rigol equips this machine with 4 channels capability and...... Read More

HP Agilent 3561A Dynamic Signal Analyzer. Finally I managed to secure this interesting device. But unfortunately, shit happens! The unit came ok from outer physical appearance, but inside, seemed like...... Read More
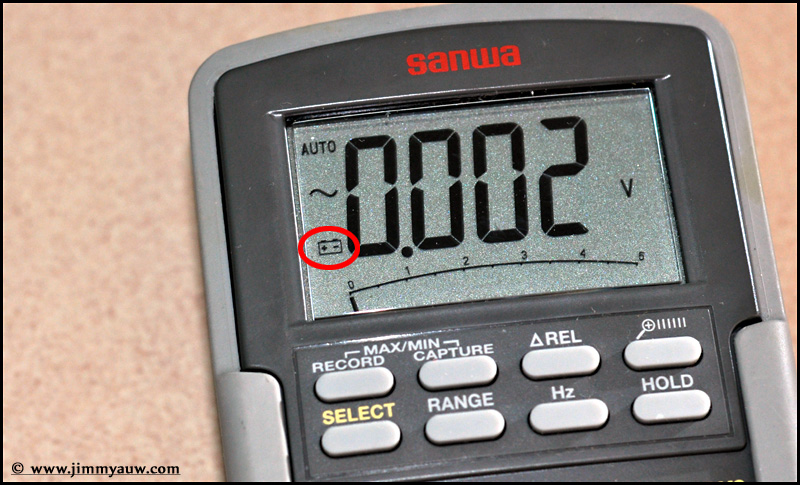
Do you realize that your measurement device also need a battery replacement? Some might not aware about this. Not only your digital device, but also your analog “needle” based measurement...... Read More

I’m not quite sure if the title above is correct, but I just can’t figure out something better. Basically, when you are doing DIY, then you will play a lot...... Read More

Due to shortage of some materials, my custom transformers were delayed a bit. I haven’t got chance to arrange the pickup yet, so I ask Ken to give a quick test...... Read More

There is an interesting website which allows us to simulate the triode loadline, or in other words: Triode Loadline Calculator. The link is here. You can easily drag-and-drop the curver...... Read More

This is one of the measurement device that has been on my list for a while, it’s HP/Agilent 8903B distortion meter (well, Tektronix AA501 is also on my list). It’s...... Read More

In order to have better view (and better understanding) of how stuff works, especially in audio, I need to have more testing equipments. Unfortunately, those are quite expensive for a...... Read More