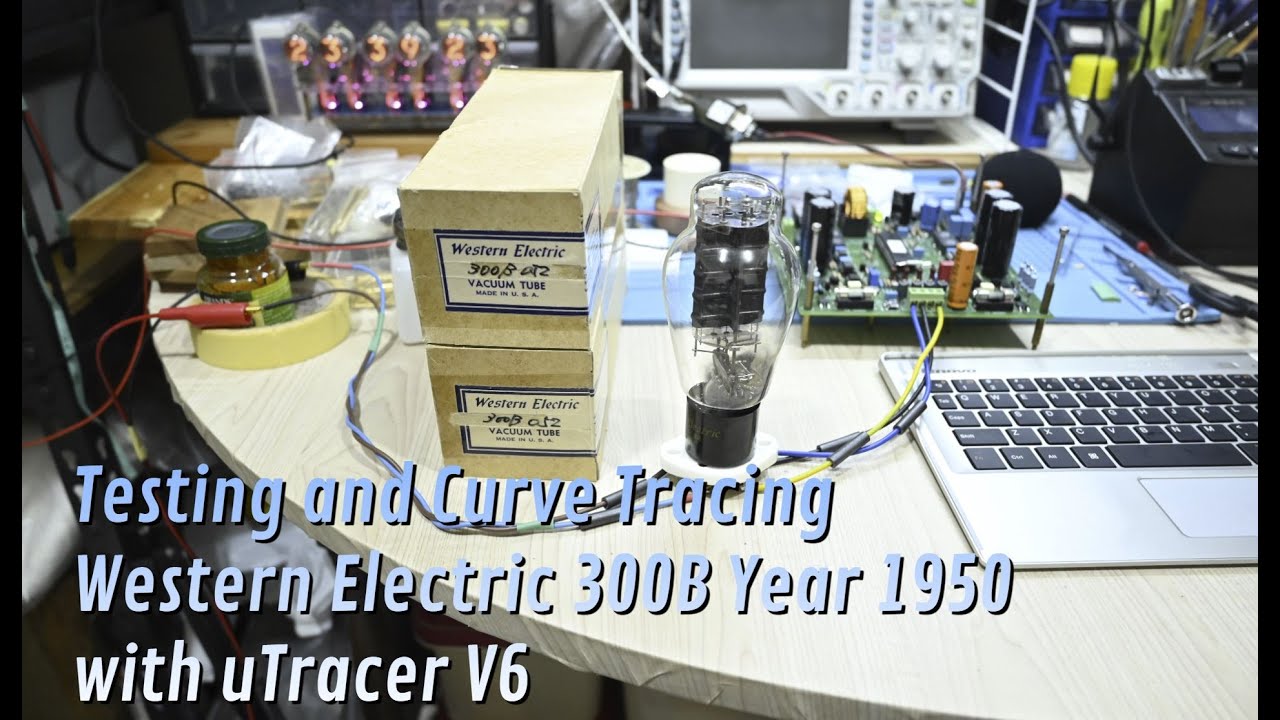
I’m testing and curve tracing my vintage Western Electric 300B tube, year 1950. It’s amazing to see 70+ years old tube still measured as good as new.... Read More

This time, I would like to compare the physical differences between vintage Western Electric 300B Year 1950 vs the re-issue version Year 1997. I also add Takatsuki TA-300B at the...... Read More
Finally, we have our custom Cathode Resistor ready. With 2mm thick PCB and 2oz of copper, total 29 pcs of Shinkoh 2W Tantalum Resistors are mounted there.... Read More

I decide to add heatsink to some of the components on my Elekit TU-8500. By default, most of the components on the Elekit TU-8500 do not have (and do not...... Read More

The power supply PCB for Elekit TU-8900 has been completed! Diode: FFPF15S60S 15 A Capacitor: Mundorf MLytic & AudioNote Kaisei NP (in SuperE mode) Custom PCB 2.5mm thickness, 2 oz...... Read More

Want to know how to test our Input Transformer with simple audio analyzer? In this case, I’m using QuantAsylum QA402. The Input Transformer spec is 600R:600R with Permalloy80 core and...... Read More

Enjoying the sweet sound of Permalloy80 Input Transformer with OCC Silver (Ag) wire.... Read More
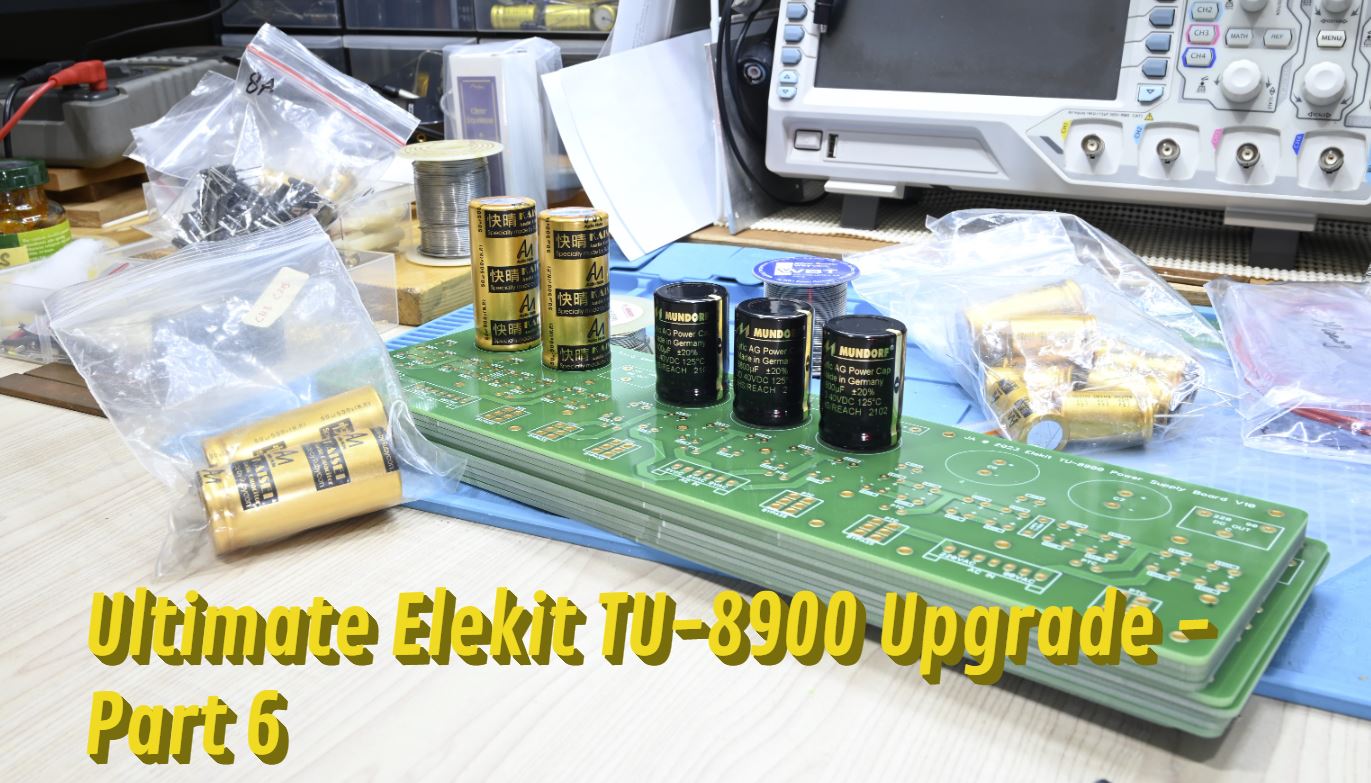
The power supply PCB for Elekit TU-8900 has arrived! It has 2mm thickness, 2oz copper, and 2um gold plated. Superb build quality!... Read More

This time, I will show to all of you on how do I arrange the components into the PCB. Hope you enjoy it! Songs by Ayako Hosokawa. Very nice singer...... Read More

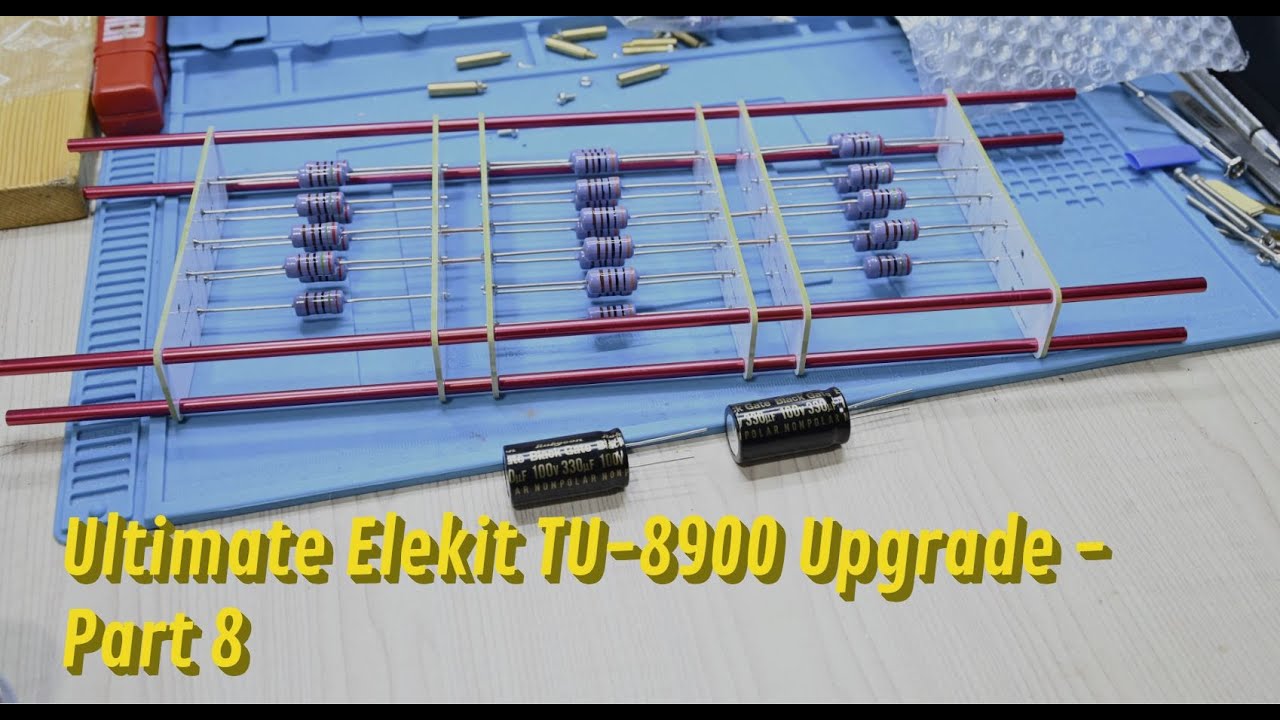
Things are getting more serious. More components being installed, starting from TKD 2W resistor, Vishay TX2575, Audio Note Silver Tantalum 2W, Shinkoh Tantalum 2W, Riken RMG 1W, Black Gate Non-Polar,...... Read More

Quite a busy week with a lot of daily work. So this hobby will be pushed to next priority for sure. But I managed to get myself consistent in spending...... Read More

One of the most important thing when doing the upgrade is the “planning”. Planning here means setting up the strategy on how to put the parts to make sure that...... Read More