I understand that I didn’t put too many photos on my first article regarding this Schumann Resonator here. I was too excited (and too lazy) to edit the photos. So here is the 2nd article to share some more guidance on the power connection of this device.
Basically what do we need is just a simple 12V DC power supply with around 2A of current. You can simply use standard linear power supply (you might need a stronger regulator to cover 2A usage. Or the other cheaper solution is by using switching power supply. I use one old switching power supply from my old netbook (not notebook). Most notebook power adapter are using 19V DC power supply. If you don’t have 12V DC power supply, I think you can buy it locally. Not that difficult to find this kind of power adapter.

Next is to check whether the power plug is suitable or not. Unfortunately on my case, the power plug from the adapter is a bit on the small size (well, it’s for netbook). So I can’t simply plug it to my Schumann Resonator device.
But off course, this kind of small problem won’t stop me from powering this device 😉
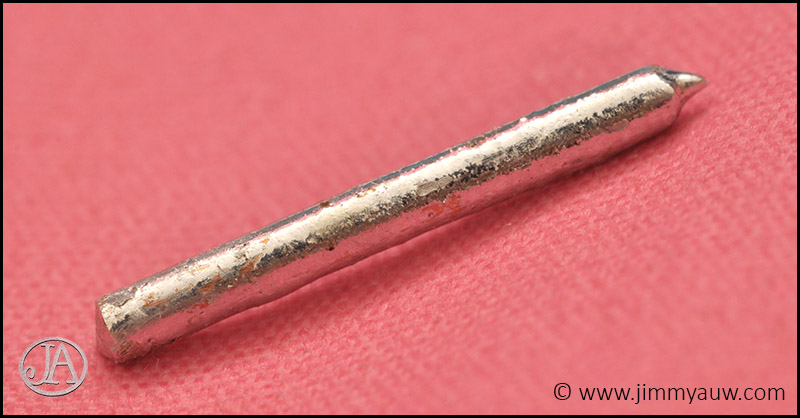
I dig my bin to find copper solid wire (I think around AWG14). It fits nicely to the power adapter plug. I think the copper wire was from Yamamoto which I purchased quite some time ago.

Copper wire is prone to tarnish, especially in high humidity country like Indonesia (we are talking 75-90% here). So I decide to coat the copper wire with WBT 4% Silver Solder. With the help of Cardas Rosin, I have no problem coating this 1.5 cm copper wire. Some copper surfaces still visible which later I need to re-coat them again.
The idea is to solder the original plug from the power adapter into a new correct plug which suits the Schumann Resonator device. So more or less you will see the final converted plug like below.
If you have been following my blog from the very beginning, you will understand that I’m quite neat and perfectionist on most occasion. So the solder joint below also one of the example that I want a perfect join and clean finish. This to make sure the connection is firmed and will not loose over the time.
A bit out of topic, the photo was taken with Sigma 150mm/2.8 macro lens and 36mm tube extension module. I prefer my Nikkor 200mm/4 macro lens, but Sigma is much faster and lighter, but trading the picture quality (a bit).

Finally, the connection is secured with the original plastic sleeve and then sealed with heat-shrink sleeve. Now we are ready to enjoy the music 🙂


